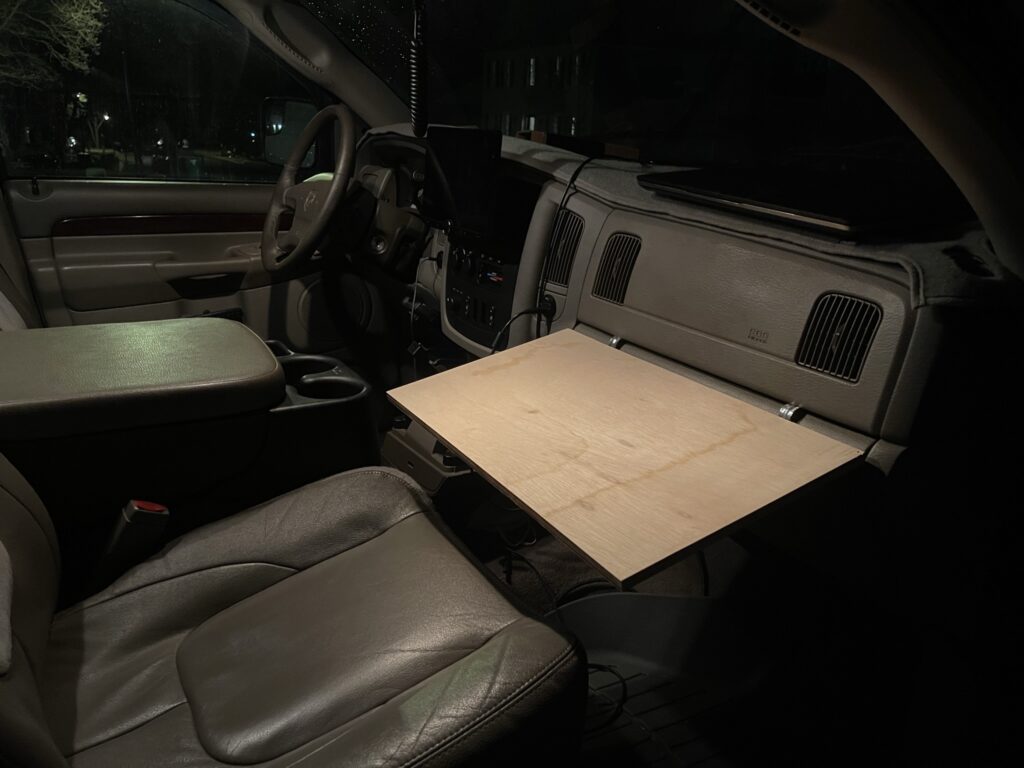
It took awhile to get to this item, but last night I rough cut and put hooks on the piece that will become my desk in the truck. The desk board is about 21″ x 12″. I found a couple of (3/4″?) conduit hooks made quick and easy hooks to go over the top edge of the glove box and were thin enough to allow the glove box door to still close easily. It isn’t real pretty, but it is super quick to place and use.
Desk attached to glove box viewed from passenger doorDesk attached to glove box viewed from passenger seat
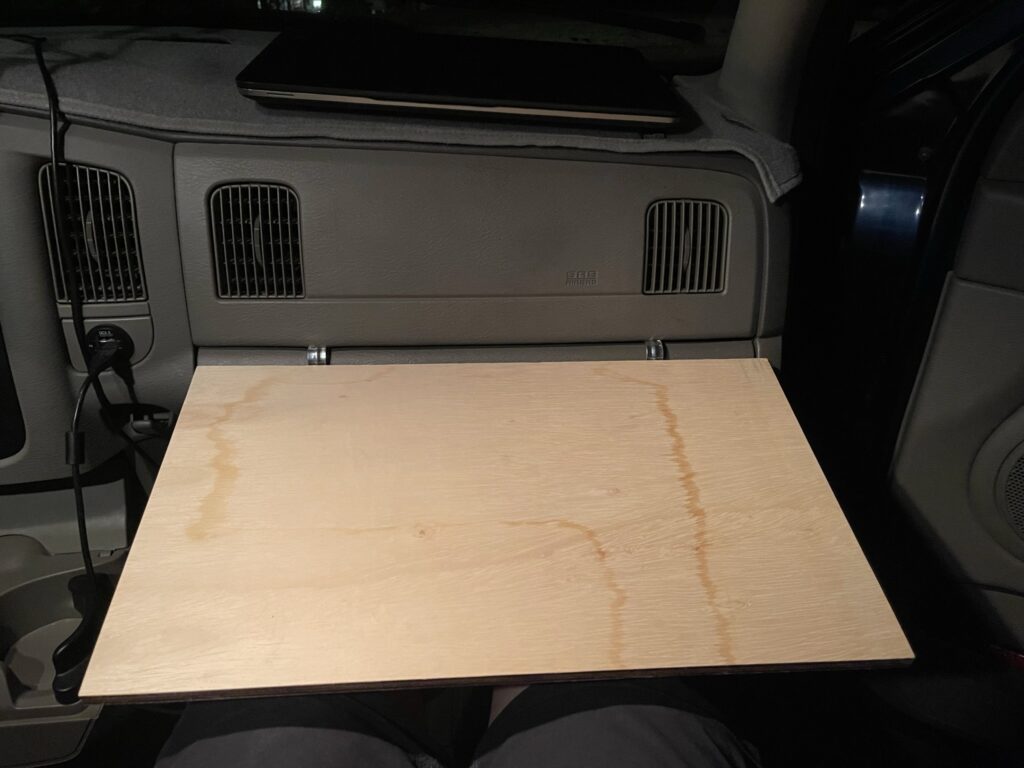
The hooks are not enough to hold up the desk with the weight of the laptop. I’ll add a cord or small rope with a hook to the passenger side grab handle to support the right rear corner. The plywood is at least 1/2″ thick and is sufficiently rigid that one support cord will be enough.
Desk with simple cord loop to support the weight of the laptop. The end of the loop inserts into a slot cut into the back edge of the desktop. Simple knots keep the cord from slipping through.
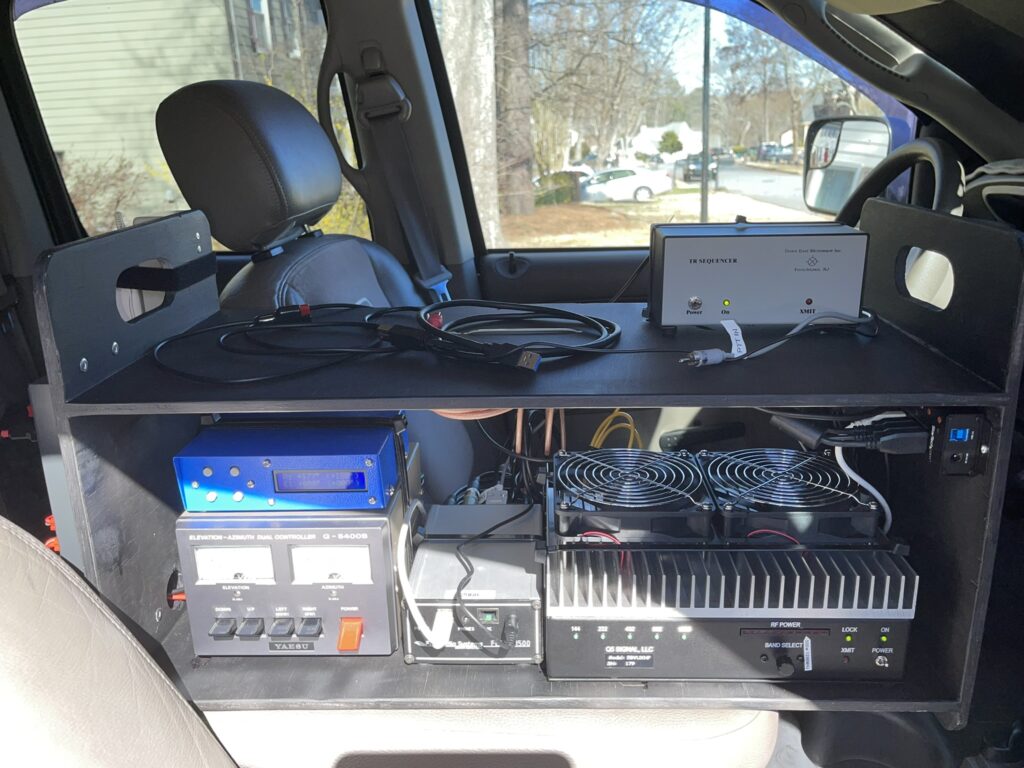
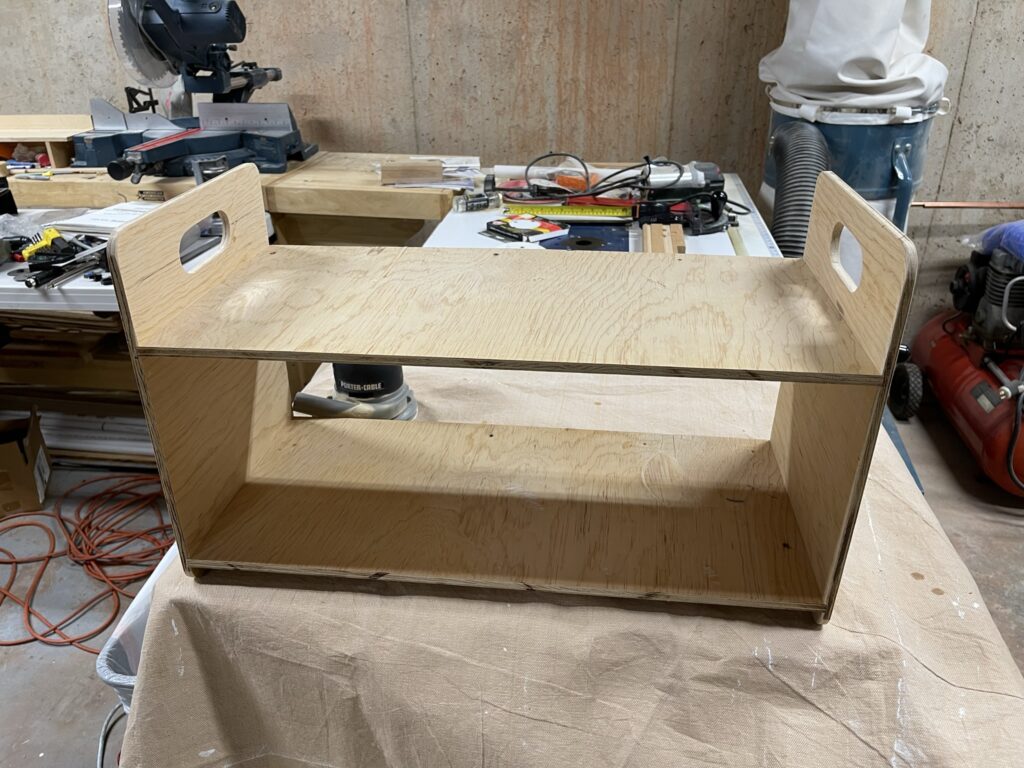
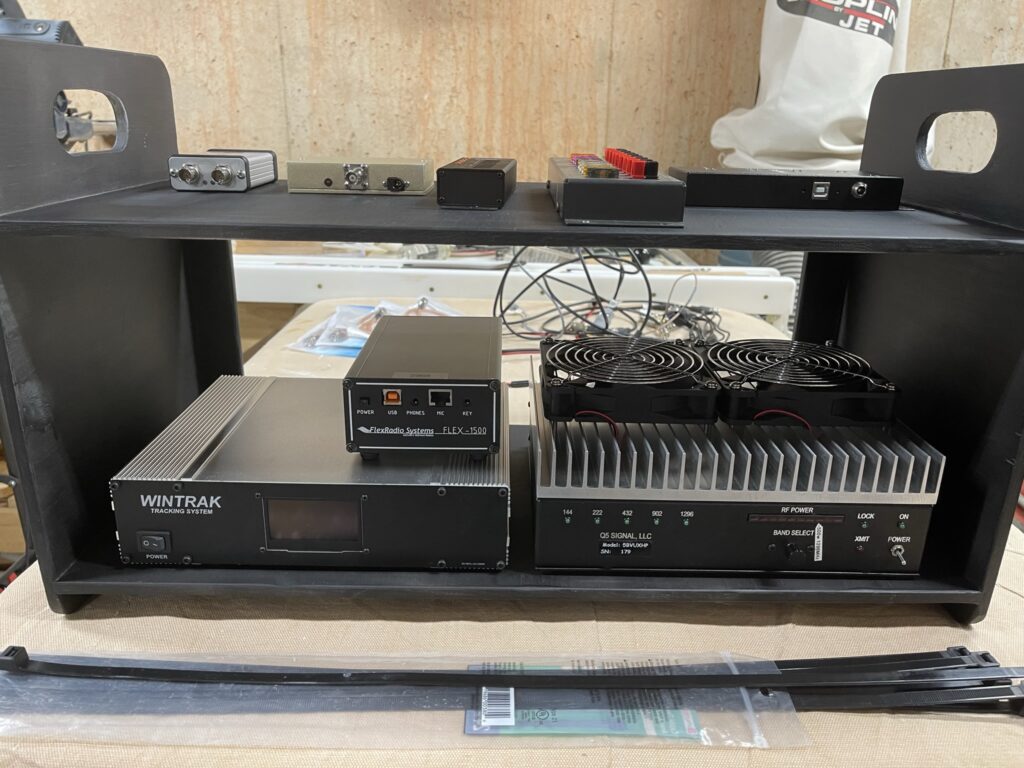
I built a rack for the radio equipment that would live inside of the truck. It is approximately 24 inches long, 11 inches deep, and the ends are 14 inches tall. I marvel at the capabilities that can be placed into that small a package.
160m through 23cm operation on all the amateur bands. Check.
Decently capable SDR radio with super easy transverter interfacing. Check.
GPS disciplined 10MHz clock reference with 4-way splitter. Check.
USB hub and USB power ports. Check.
Azimuth and elevation rotor control tied to the USB hub. Check.
AC and DC power distribution. Check.
Radio Rack on center console ready to finish connecting
The rack size was a design compromise to fit the equipment planned. It needed to be light enough that I could move it easily, and fit on top of the center console so that I can access the front controls while sitting in the passenger seat. Contrary to what others have assumed, it is not rational to operate EME Rover in ‘run-and-gun’ style from the driver’s seat. There is more room in the passenger seat for the laptop and second monitor.
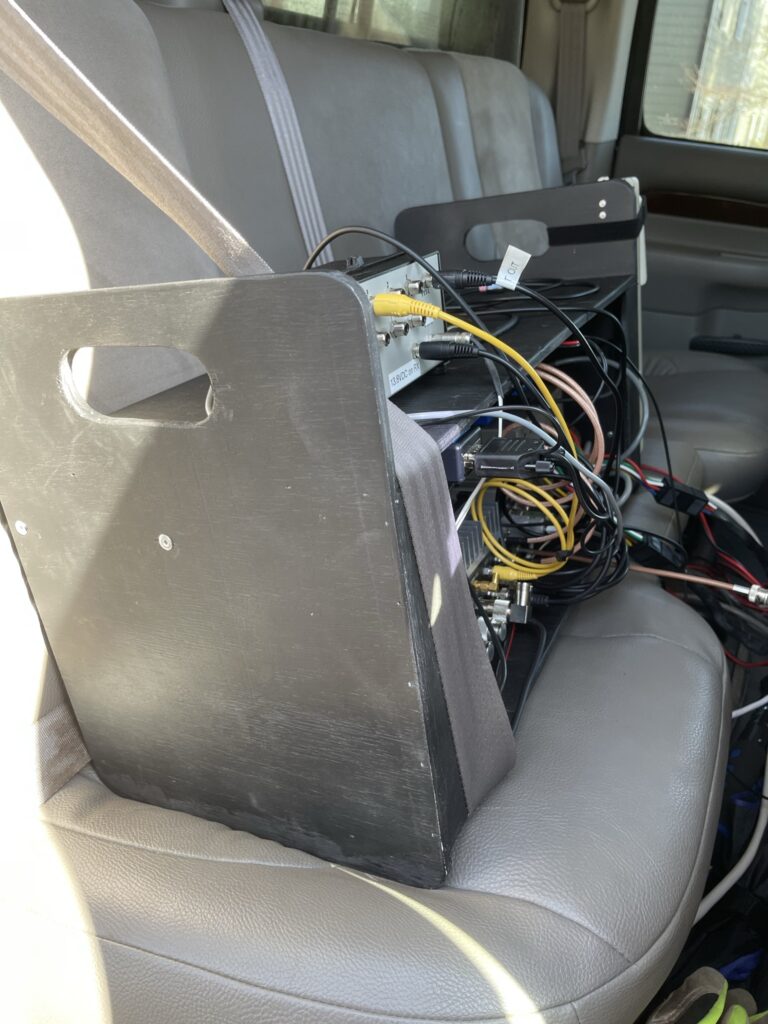
It’s all tied down so that none of the parts bounce or move within the rack during transport. It requires 10 cables disconnected to be removed from the truck. The cables are:
120VAC Power
12VDC Power
Azimuth Rotor
Elevation Rotor
GPS Antenna
Transmit Coax
Receive Coax
PTT to Amplifier
RX Enable to LNA and RX Relay
USB Cable from hub to Laptop
In roving operations, I can leave 7 of the cables connected when the rack is stowed into the back seat. The two coax cables and the laptop USB cable need to be disconnected to move the rack to the rear. When in the back seat, I make it wear a shoulder strap, but I may change that to straps that make use of the child seat loops built into the rear seat by Dodge.
Radio Rack stowed in the rear seatRadio Rack in raw form before paint and all the holes for zip-ties, pop-rivets, screws, and cables.Radio Rack test fitting modules to help finalize placement. Top shelf from left to right: Leo Bodnar GPSDO, DEMI 4-port 10MHz splitter, 4 port USB hub plus 3 charging/powered port, RigRunner 12VDC strip, and USB to 4-ports RS232.